The German-speaking world has its own smart-home hub, and it is called ioBroker: open source, extremely flexible and backed by a huge community. If you run your home on it, you do not want to leave your home on wheels out of the picture. So the obvious question for motorhome owners is: can you integrate the Truma Combi into ioBroker – and if so, how?
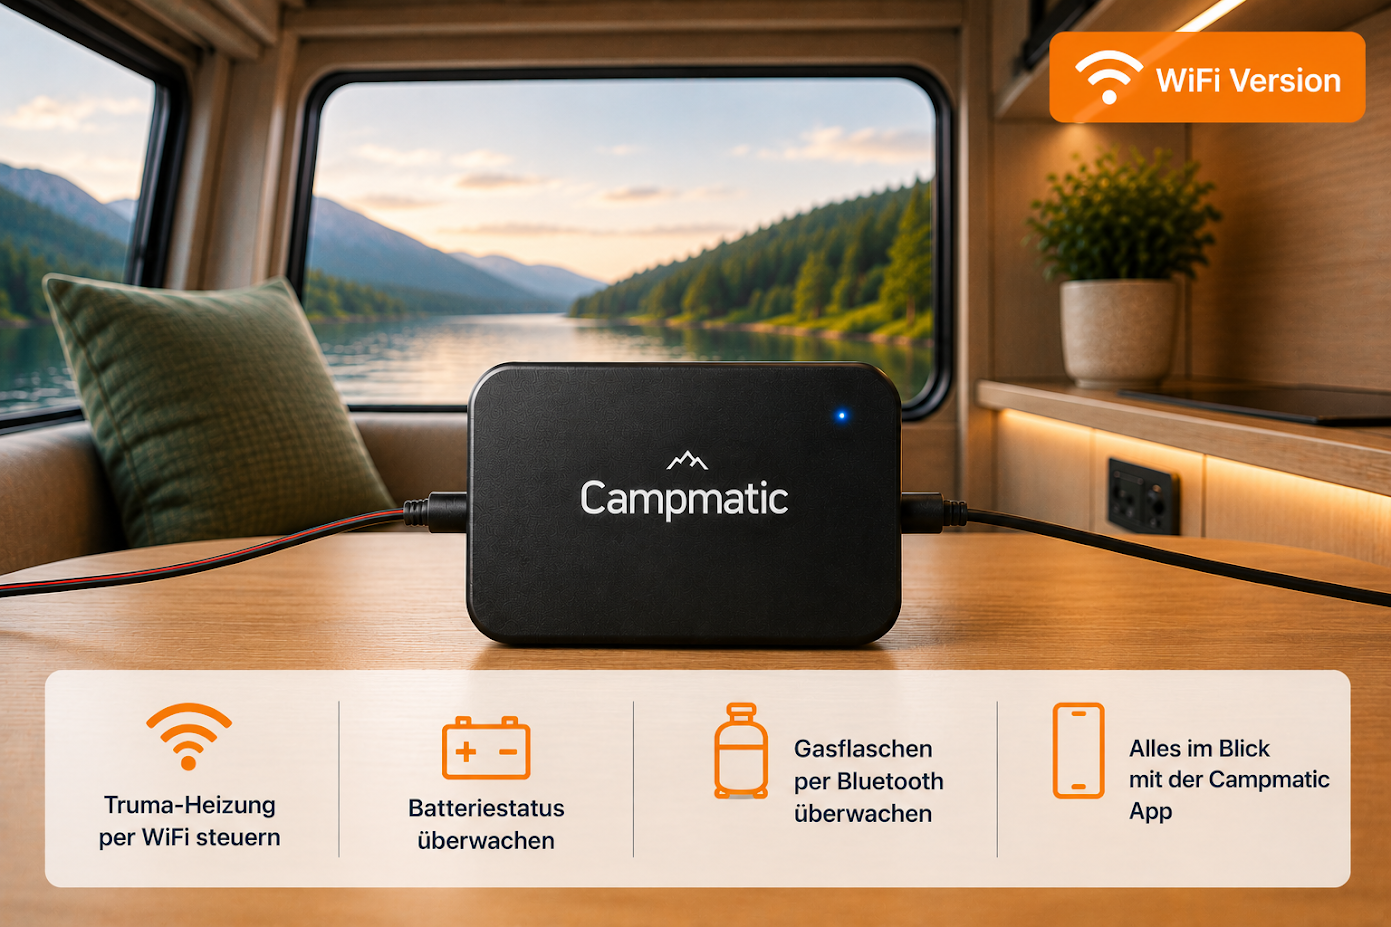
The short answer: yes, cleanly and without any tinkering. With CampMatic, your Truma Combi 4 or 6 publishes every value over MQTT via TLS. In ioBroker you install the MQTT adapter, connect it to the CampMatic broker, subscribe to the topics – and heating, hot water, energy mix and status appear as data points in the object tree. This post is the ioBroker counterpart to our guide on integrating the Truma heater into Home Assistant.
Why Truma + ioBroker?
Truma ships its own app with the iNet X System – solid, but a closed island. If you use ioBroker, you expect more:
- One system for everything: heater, inverter, solar, water tanks, door sensors – all in one object tree instead of five apps.
- VIS visualisation: build your own camper dashboard with thermometer widgets, history curves and status tiles – exactly the way you want it.
- Scripts & automations: graphically with Blockly or freely in JavaScript – cross-device logic like "if outside temperature below 5 °C, set Truma to 19 °C" is no problem.
- Data history: with the History, SQL or InfluxDB adapter you log every data point and see how cold it really got overnight.
- Node-RED as an alternative: prefer graphical flows? Use the Node-RED adapter – more on that below.
How CampMatic delivers the data – MQTT over TLS
CampMatic speaks the Truma LIN bus natively and publishes every value as MQTT topics – encrypted over TLS. The broker runs on campmatic.de, port 8883 (TLS). Each device has its own username (e.g. campmatic_003) and its own topic prefix (e.g. campmatic/003). You will find the credentials in the CampMatic app or on the sticker on the device.
An important note for accuracy: the MQTT auto-discovery that Home Assistant uses is Home Assistant specific. ioBroker does not have that automatic entity detection. Instead, in the MQTT adapter you simply subscribe to your device's topic prefix (e.g. campmatic/003/#), and ioBroker then creates a data point in the object tree for every topic that arrives. That is not a drawback – just a slightly different, and in ioBroker perfectly normal, way of doing things.
What arrives in ioBroker – the data points
Once the MQTT adapter is connected and subscribed to the topic prefix, the object tree fills up. Depending on the device and the connected sensors, you get these values:
Truma heater
- Heating – state (on/off), current temperature and target temperature
- Hot water – off / 40 °C / 60 °C
- Energy mix – gas, electric or mix
- Status – operating state or offline message
Connected sensors (depending on your setup)
- Gas – gas bottle fill level via Mopeka sensor
- Onboard battery – voltage and state of charge via BM2 (1..n batteries)
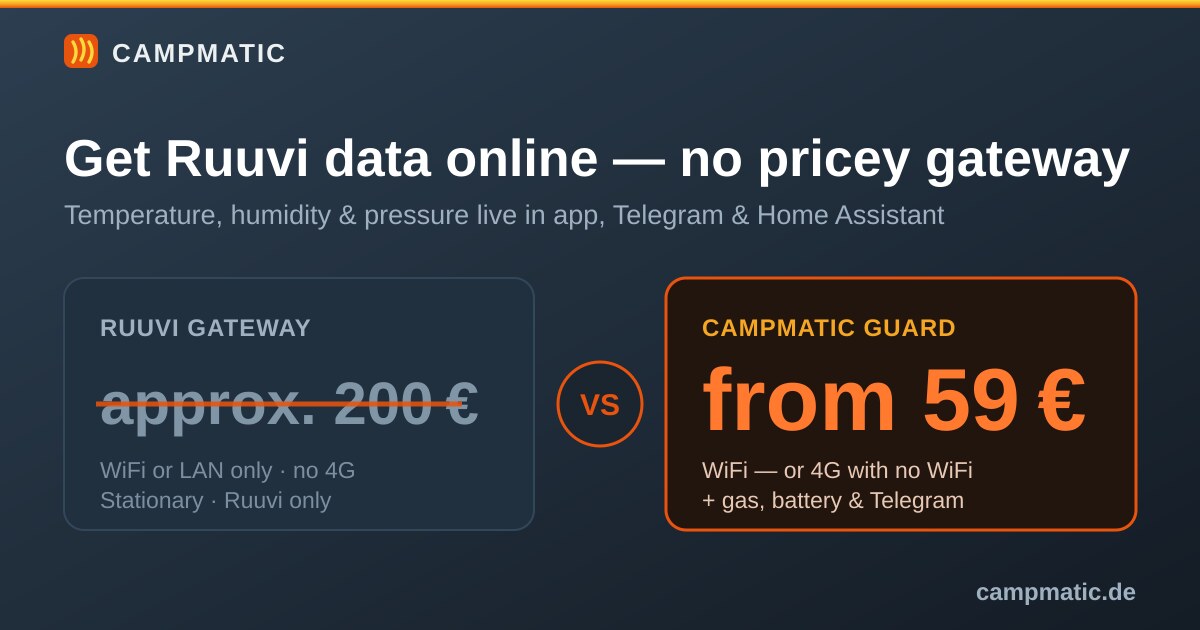
- Ruuvi – temperature, humidity and air pressure (1..n sensors)
The cheaper CampMatic Guard (from €59) also delivers its sensor data (Mopeka, BM2, Ruuvi) to ioBroker over MQTT the same way – just without the Truma control, which is reserved for the Truma line.
Requirements
To make this work you need two things – honestly stated:
- A running ioBroker instance – typically on a Raspberry Pi or a small server on your home network.
- The MQTT adapter (installable from the ioBroker adapter store).
A CampMatic device on the CP Plus goes without saying. Which heaters are supported is listed further down.
Step by step: set up CampMatic in ioBroker
1. Install the MQTT adapter
In the ioBroker admin under Adapters, search for MQTT and create an instance. Important: the adapter must run as a client (subscriber/publisher), not as its own broker – because the broker already runs at CampMatic.
2. Configure the connection to the CampMatic broker
In the MQTT adapter instance settings, enter:
- Type: client / connection to a broker
- Server (host):
campmatic.de - Port:
8883 - Encryption / TLS: enabled
- User: your device username, e.g.
campmatic_003 - Password: from the CampMatic app / device sticker
3. Subscribe to the topic prefix
In the field for subscribed patterns (inbound topics), enter your device's prefix with a wildcard:
campmatic/003/#The hash # is the MQTT wildcard for "everything below". This pulls in all of your device's values – heating, hot water, energy mix, status, gas, battery and Ruuvi – in one go.
4. Check the object tree
Save and start the instance. After a few seconds a branch mqtt.0.campmatic.003… appears under Objects with the individual data points. Each one updates automatically as soon as CampMatic publishes new values.
5. Control, not just read
To switch things (e.g. set the target temperature or toggle hot water), you simply write to the matching command topic – either directly from a data point or from a script. That turns monitoring into real remote control.
Build a dashboard in VIS
With the data points in the object tree, you build your camper dashboard in VIS (or VIS-2): a thermometer widget for the inside temperature, a slider for the target temperature, status tiles for energy mix and hot water, plus a history curve via the History adapter. Add the gas bottle and the onboard battery and you have the complete camper state on one screen.
Automations with Blockly & JavaScript
The real charm of ioBroker is the automations. A few ideas worth doing right away:
- Pre-heating: as soon as a presence or location data point signals "approaching", a Blockly script sets the Truma target temperature to 21 °C.
- Smart night setback: lower the target temperature at 11 pm – but only as far as the outside temperature allows, so you do not spend the whole morning reheating.
- Frost guard & error push: if the inside temperature drops below a threshold or the status reports a fault, ioBroker sends a message to your phone via the Telegram or Pushover adapter. Priceless when winter camping.
You build all of this either graphically in the Blockly editor or freely in JavaScript in the script adapter.
Alternative: Node-RED
If you prefer graphical flows, use the Node-RED adapter instead of (or alongside) Blockly. Node-RED can either work off the data points mirrored by ioBroker or – even more directly – attach to the same CampMatic broker (campmatic.de:8883, TLS) with its own MQTT node and subscribe to the topics itself. For complex flow logic with many branches, that is often the clearer option.
Frequently asked questions
Is there auto-discovery in ioBroker like in Home Assistant?
No. Auto-discovery is Home Assistant specific. In ioBroker you subscribe to the topic prefix (e.g. campmatic/003/#), and the MQTT adapter creates the data points in the object tree itself. The result is the same – all values are available – only the path to it is different.
Is the connection encrypted?
Yes. CampMatic uses MQTT over TLS on port 8883. Enable encryption in the MQTT adapter and the whole communication is secured.
Does the CP Plus stay usable?
Yes, always. CampMatic attaches to the LIN bus in parallel and replaces nothing. You can adjust the CP Plus at any time – ioBroker picks up the new values over MQTT.
Which Truma models are supported?
Truma Combi 4, 4E, 6, 6E, D6 (diesel), D6E and Vario Heat – all with CP Plus from firmware C4.00.00. The iNet X System is not supported.
Conclusion
With CampMatic, the Truma Combi comes into ioBroker without soldering, without an ESP32 and without touching the vehicle wiring. CampMatic publishes every value encrypted over MQTT via TLS, you subscribe to your topic prefix in the MQTT adapter – and heating, hot water, energy mix, status plus gas, battery and Ruuvi are ready as data points for VIS, Blockly, JavaScript and Node-RED. For anyone who thinks of their camper as a rolling smart home running on ioBroker, this is the open, clean solution.
→ CampMatic Truma WiFi (GC_HW01) – Truma in ioBroker over MQTT, €149
Monitoring for gas (Mopeka), onboard battery (BM2) and Ruuvi is already included in the Truma boxes. If you only need the sensors, take the CampMatic Guard from €59 – its values flow into ioBroker over MQTT too.
Not sure which device fits your setup? Check the help or write to us – we are happy to help you choose.